Elden Ring: Shadow Of The Erdtree Information – How To Get To The Abyssal Woods – When you ever needed to see what it might be like to show Elden Ring right into a survival horror sport, then FromSoftware presents a style of that in its new DLC, Shadow of the Erdtree.
The Abyssal Woods space is about as near a survival horror sport as FromSoftware has ever been. Firstly, fight is sparse and actively not advisable. Second there are a number of enemies who you could have virtually no means of truly defeating, and third it’s fairly rattling terrifying to be caught.
If all of that sounds engaging and also you completely must discover a technique to this space, then this information will present you methods to get there, and methods to get to the principle boss of the world, which can also be one of many higher bosses in the entire DLC.
Associated Information – Try our different guides for Elden Ring: Shadow of the Erdtree that can assist you in your means by means of the Realm of Shadow
Elden Ring: Shadow Of The Erdtree Information – How To Get To The Abyssal Woods
It Begins With A Coffin
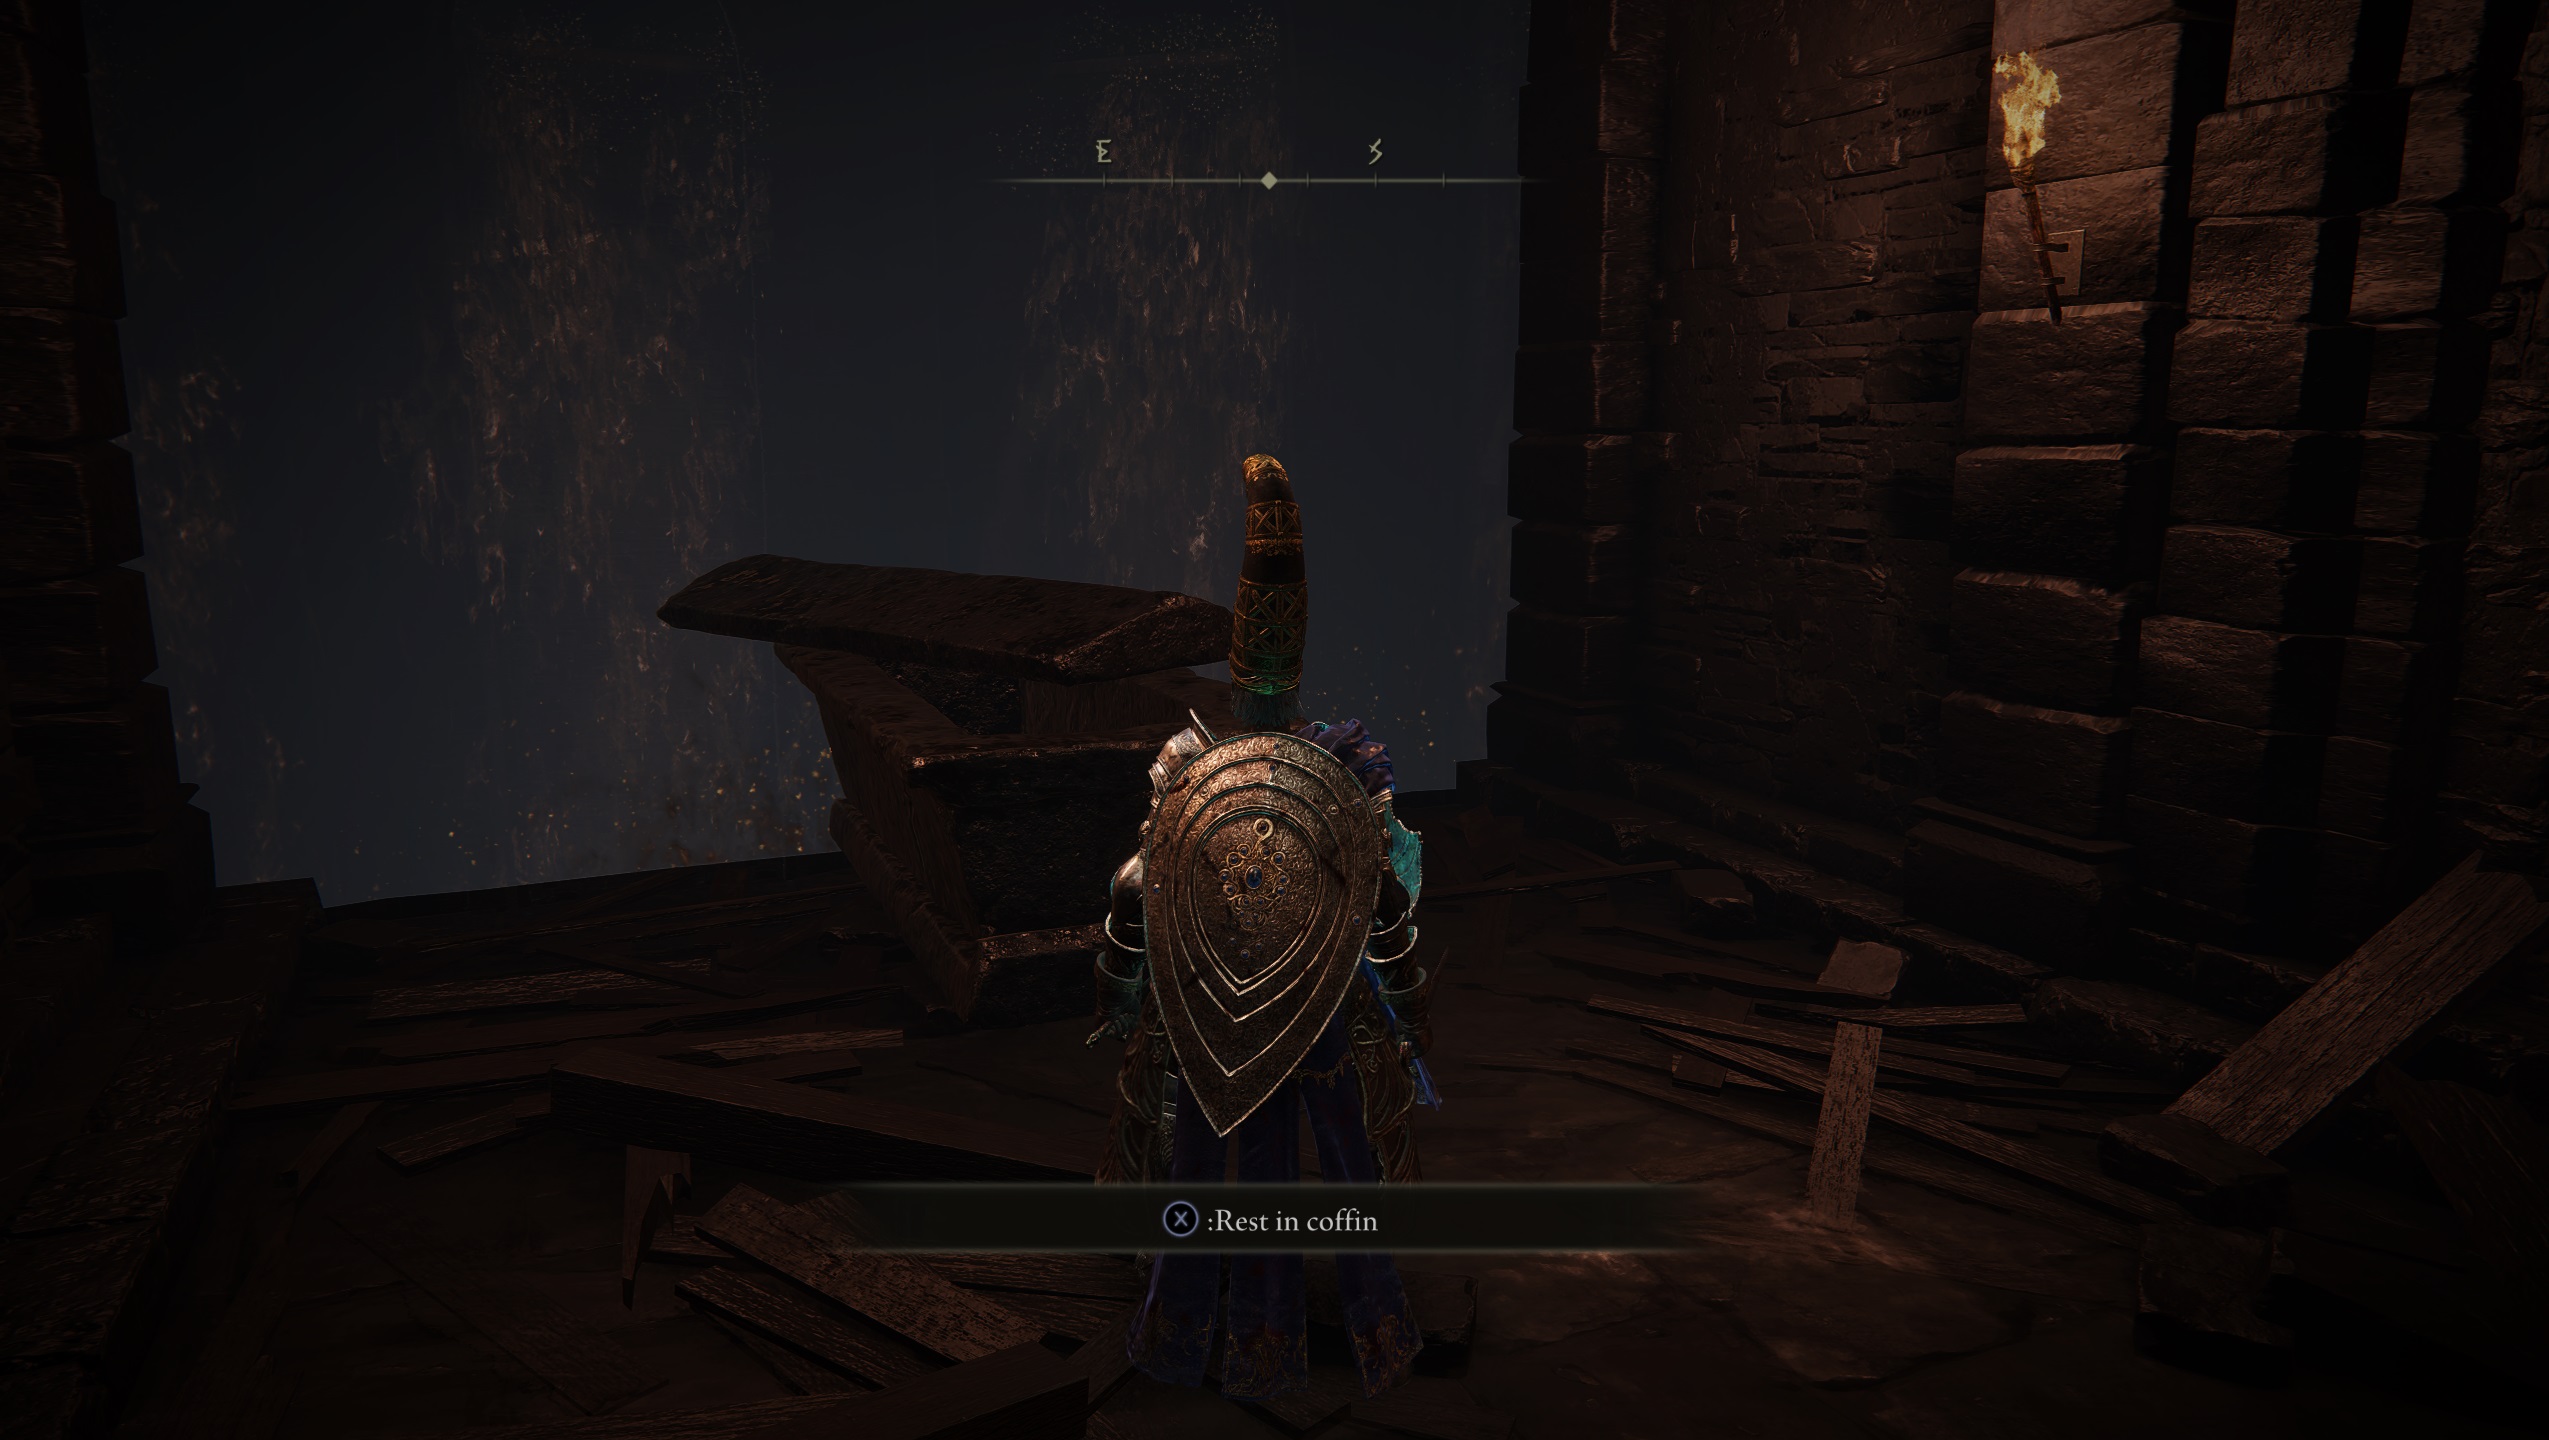
Within the base sport, there are two coffins that transport you to areas which might be in any other case inaccessible. The identical is true for the Abyssal Woods, however the coffin is extra a method not simply to a single secluded space, however a complete chunk of the map you’d haven’t any different means of attending to.
Which already sounds not like FromSoftware, since there’s often a couple of paths you’ll be able to take to get wherever. Not this time.
That’s why the journey to the Abyssal Woods begins on the Shadow Maintain, so that you’ll should have made your technique to the Scadu Altus and during the Shadow Maintain simply forward of the place you are taking an elevator as much as the Specimen Storehouse.
In actual fact, you’ll most likely discover it simpler to start this journey from the Storehouse, First Flooring website of grace and work backwards. When you’re doing this, you then’ll want to show left as soon as defeating the Hearth Knight that guards the elevator. When you’re not working backwards, you then don’t must hassle with the knight and might keep to the correct.
- On the left aspect of the right-hand path, after avoiding or defeating the group of Vulgar Militiamen you’ll discover a ladder, semi-hidden by particles that goes all the way in which all the way down to the underside of a waterfall.
- Behind the waterfall is a ladder, head down and also you’ll see a portray on the finish of the tunnel. To the correct of the portray is an illusory wall with one other tunnel behind it. Observe the tunnel and also you’ll see the coffin. Lay in it to proceed.
- From right here journey south-east previous a Furnace Golem that’ll get up as you experience previous. Keep away from it or struggle it, your name. Maintain heading south-east and also you’ll discover the Recluses’ River Upstream website of grace.
- Much like the way you attain the Cerulean Coast, all that’s actually required of you at this level is to comply with the river south, however not like the trail to the Cerulean Coast you’ll must do some extra platforming as you head south and down in direction of the bottom of the river on the similar time.
- Maintain heading south whereas in search of paths down in direction of the bottom of the river and also you’ll discover the Recluses’ River Downstream website of grace. Follow that very same path, and as you head down be cautious of enemies as you proceed.
- Keep to the cliff when you hold heading down, and after a sequence of huge jumps you’ll hit a remaining one the place you land in a area of stone coffins and the statues that time in direction of catacombs. You’ll additionally discover one other celebration of Vulgar Militiamen right here, so be able to take them out.
- Among the many coffins and statues, there’s a path that results in the Darklight Catacombs.
- Make your means by means of the Darklight Catacombs, the place you’ll be result in a boss struggle towards Jori, The Elder Inquisitor.
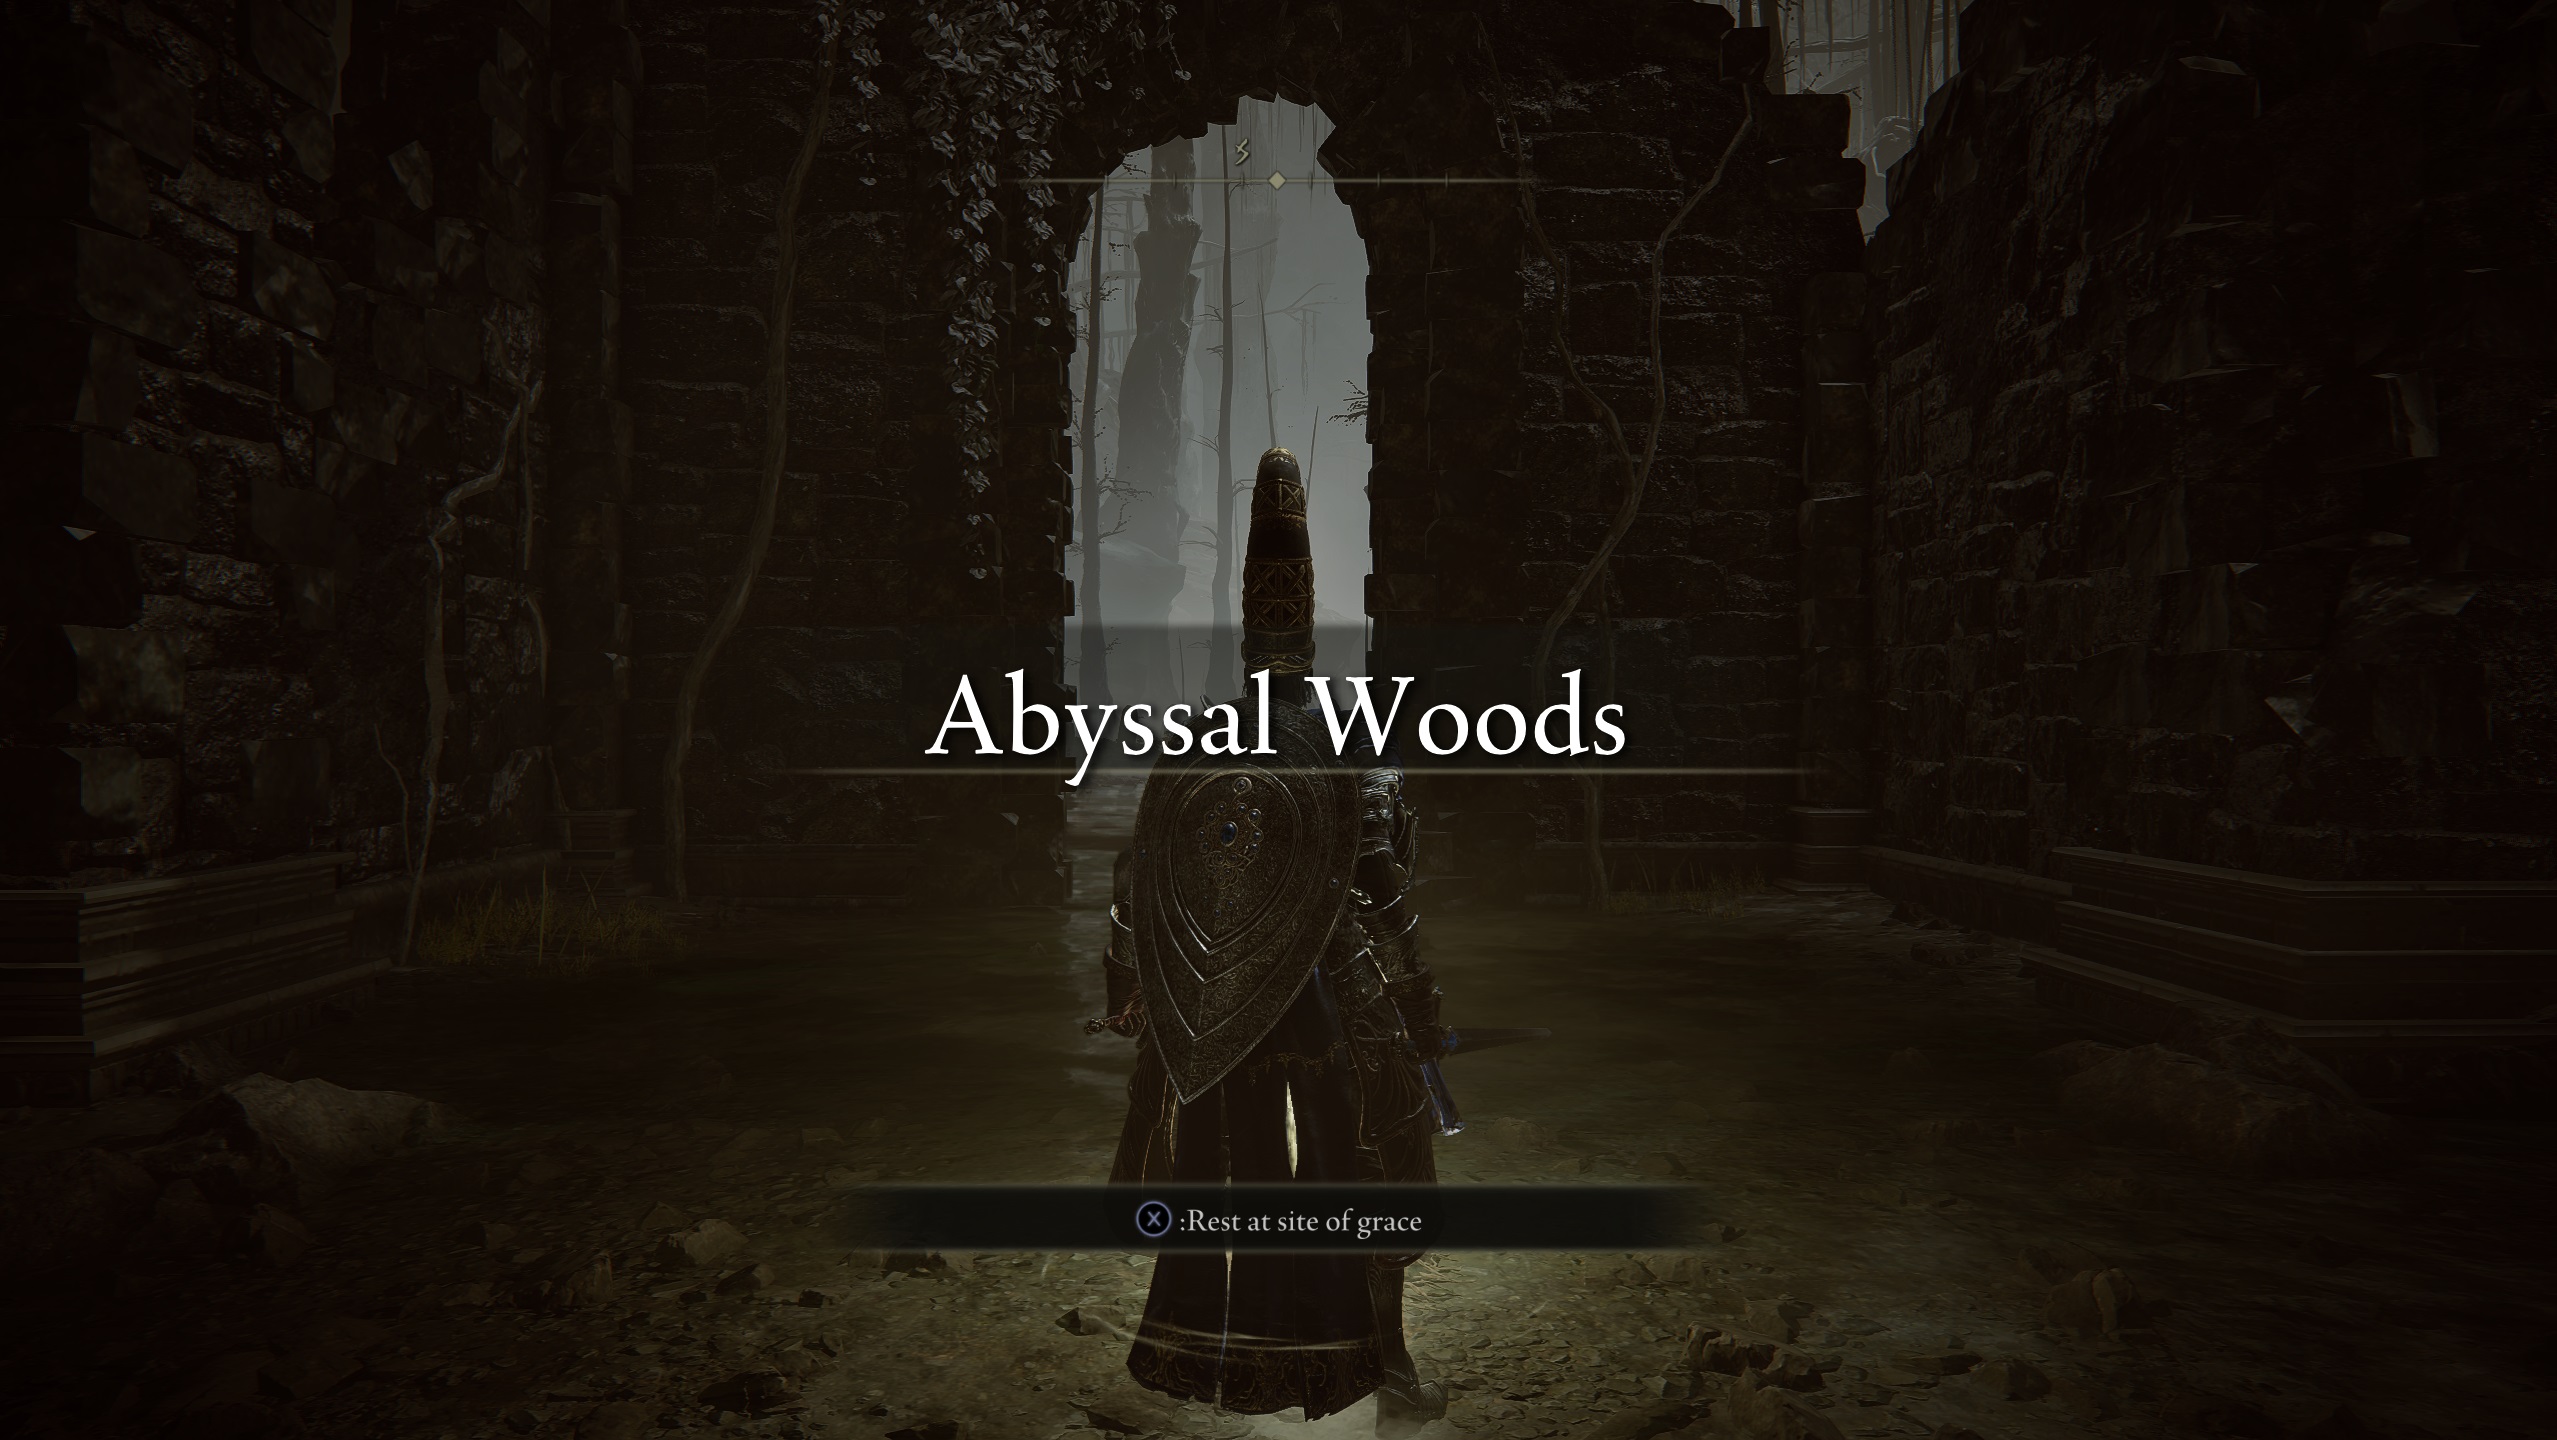
When you’ve beat Jori, you’ll be capable of stroll out to the Woodland Path website of grace, and also you’ve formally made it to the Abyssal Woods, simply proceed down the trail for the following website of grace.
Getting To Midra, Lord Of Frenzied Flame
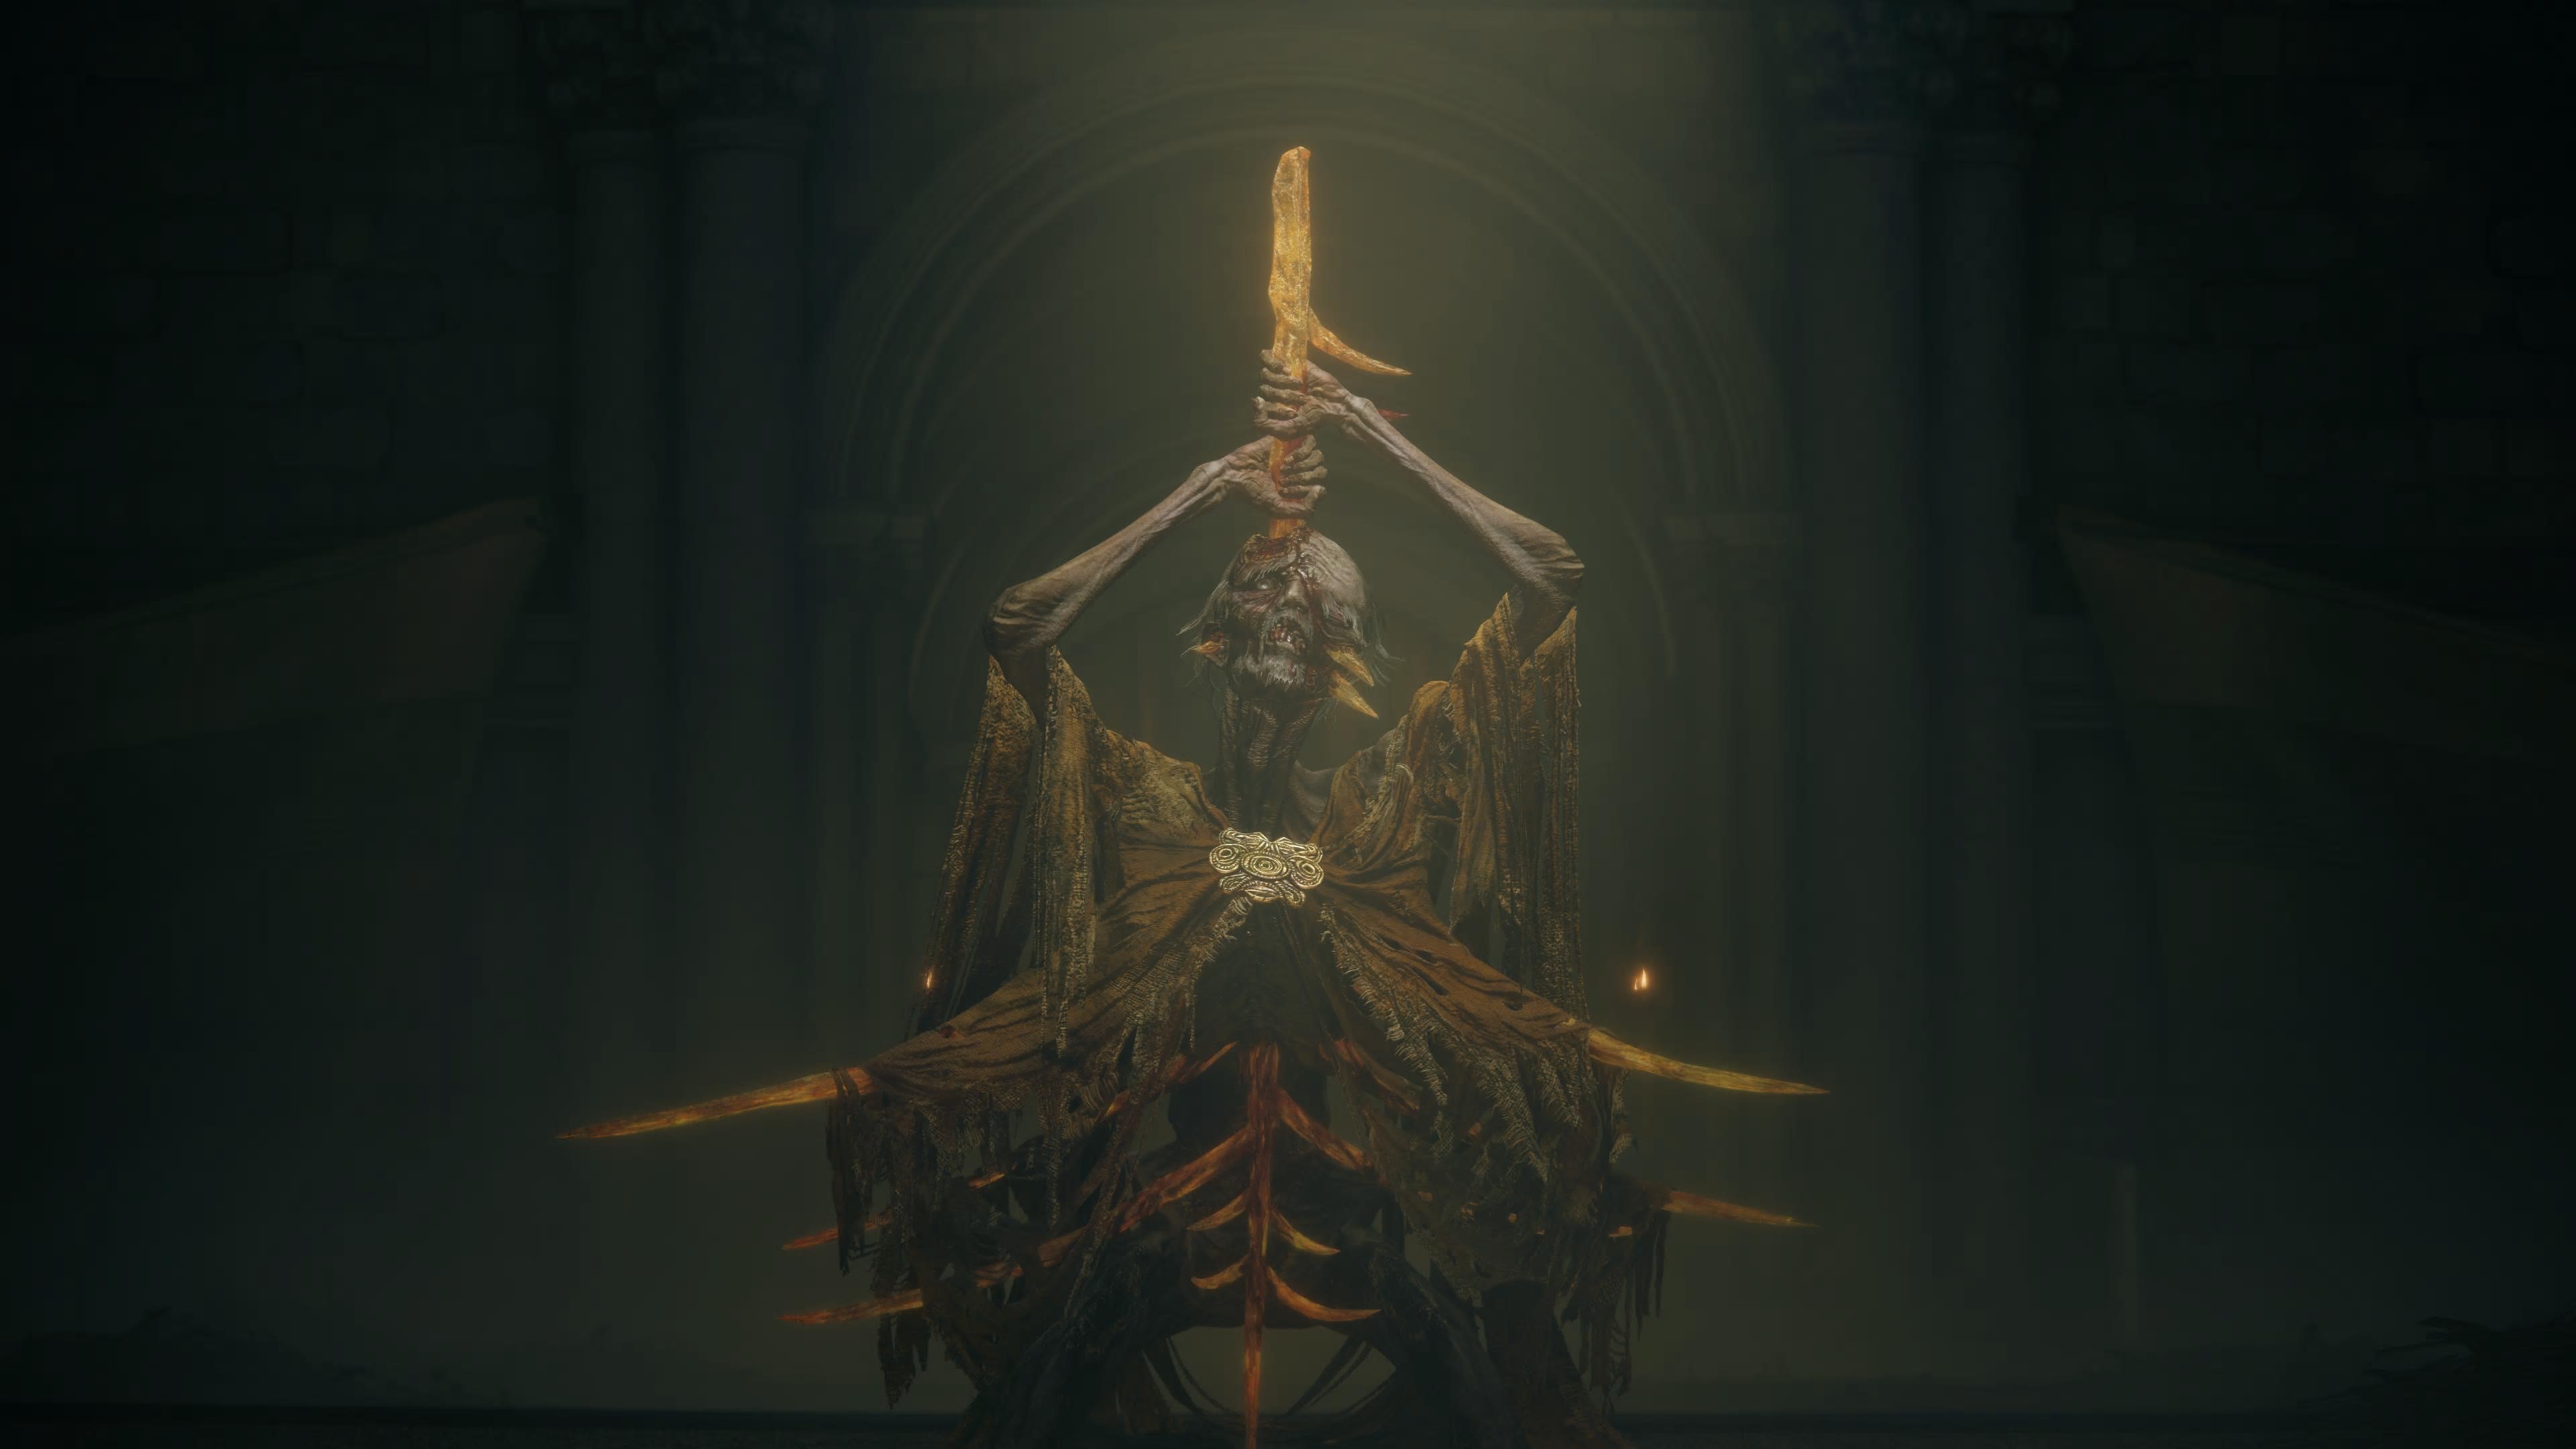
Relating to the boss struggle towards Jori, you’ll wish to have some type of holy injury negation utilized, as his incantations hit exhausting. He’ll additionally constantly summon spirits to assault you, and teleport across the area if he’s taking an excessive amount of injury.
When you let it drag out too lengthy, Jori can overwhelm you together with his spirits simple, particularly the massive enemies he’ll conjure. However in the event you can hold his deal with you and ensure to go proper to him when he teleports, you are able to do a whole lot of injury in a short time.
As soon as Jori is finished and dusted and also you’ve moved on into the Abyssal Woods space, head south-east to get the map for the world. You’ll additionally discover an Deserted Church and a website of grace for it, together with one other Scadutree Fragment and a fragrance bottle weapon, this one being of the Frenzied Flame selection.
After all you don’t want the map fragment to seek out Midra nevertheless it helps all the identical. As a result of the principle course to comply with is to simply head to the south-west nook of the Abyssal Woods.
There you’ll discover Midra’s Manse, and additional inside Midra, Lord of Frenzied Flame – arguably one of the best boss struggle within the DLC.
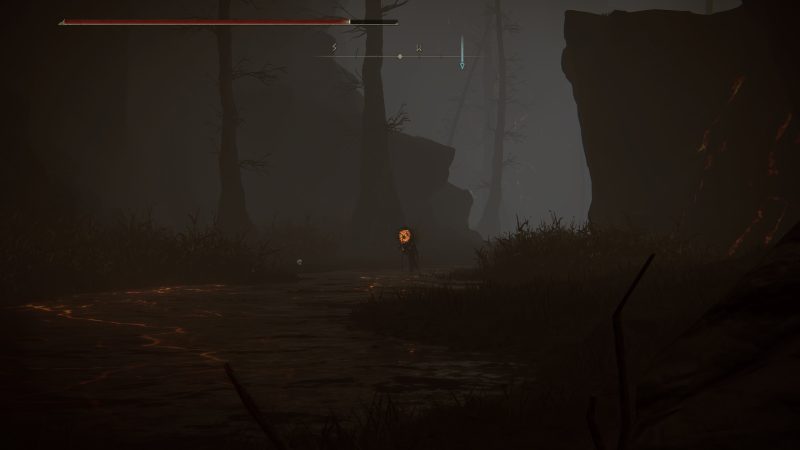
A lot as I believe they need to be a shock, I’d be remiss if I didn’t point out that there are these enemies you’ll wish to keep away from in any respect prices. Pictured above, these are the Winter Lanterns. In the event that they see you, they may chase you down and kill you. You may’t struggle again, you’ll be able to solely run away, and pray you get to a website of grace in time to reset them.
Not less than – that’s the case in case you are somebody who doesn’t use parrying in Elden Ring. Whereas the sport tells you that you just can’t hit these enemies, you really can – you simply should parry them first.
A profitable parry offers you the chance for a vital assault or you’ll be able to merely use customary assaults as soon as the parry has landed. You can not hit them with out parrying them, and getting the timing down may be very tough.
The second they carry their arms to solid their spell that can in any other case seize you and kill you, that’s when you ought to be parrying. It’s advisable you do that with smaller shields, to offer your self a quicker parry and a greater probability at getting the timing down.
When you can efficiently parry them, you’ll be rewarded with a Swollen Grape and one of many Winter Lanterns will drop a brand new talisman referred to as Aged One’s Exultation. This talisman is ideal for builds that make the most of Frenzied Flame spells, because it will increase assault injury when there’s insanity round.
When you can’t parry to avoid wasting your life, and also you simply hold dying to those enemies – then simply keep away from them. There’s not a lot they provide past the gadgets, and getting the parry timing down is tedious already. When you get the talisman it’s most likely finest to keep away from them on each different playthrough.